

Lost Ark Abyssal Dungeon Limit
Lost Ark: Route Of Lament Deep-sea Dungeon Raid Guide
The Route of Lament is the first one-half of the Ark of Arrogance Abyssal Dungeon in Lost Ark, and it has a few complex systems that need explaining.
Quick Links
- Curt & Sweetness Refresher Guide
- Starting time Section: Defeat The Demons On The Route Of Lament
- Second Department: Bewitched Najjar
- Third Department: Defeating Demons In The Forge
- Fourth & Terminal Department: Kyzra
- Recommended Consumables & Engravings
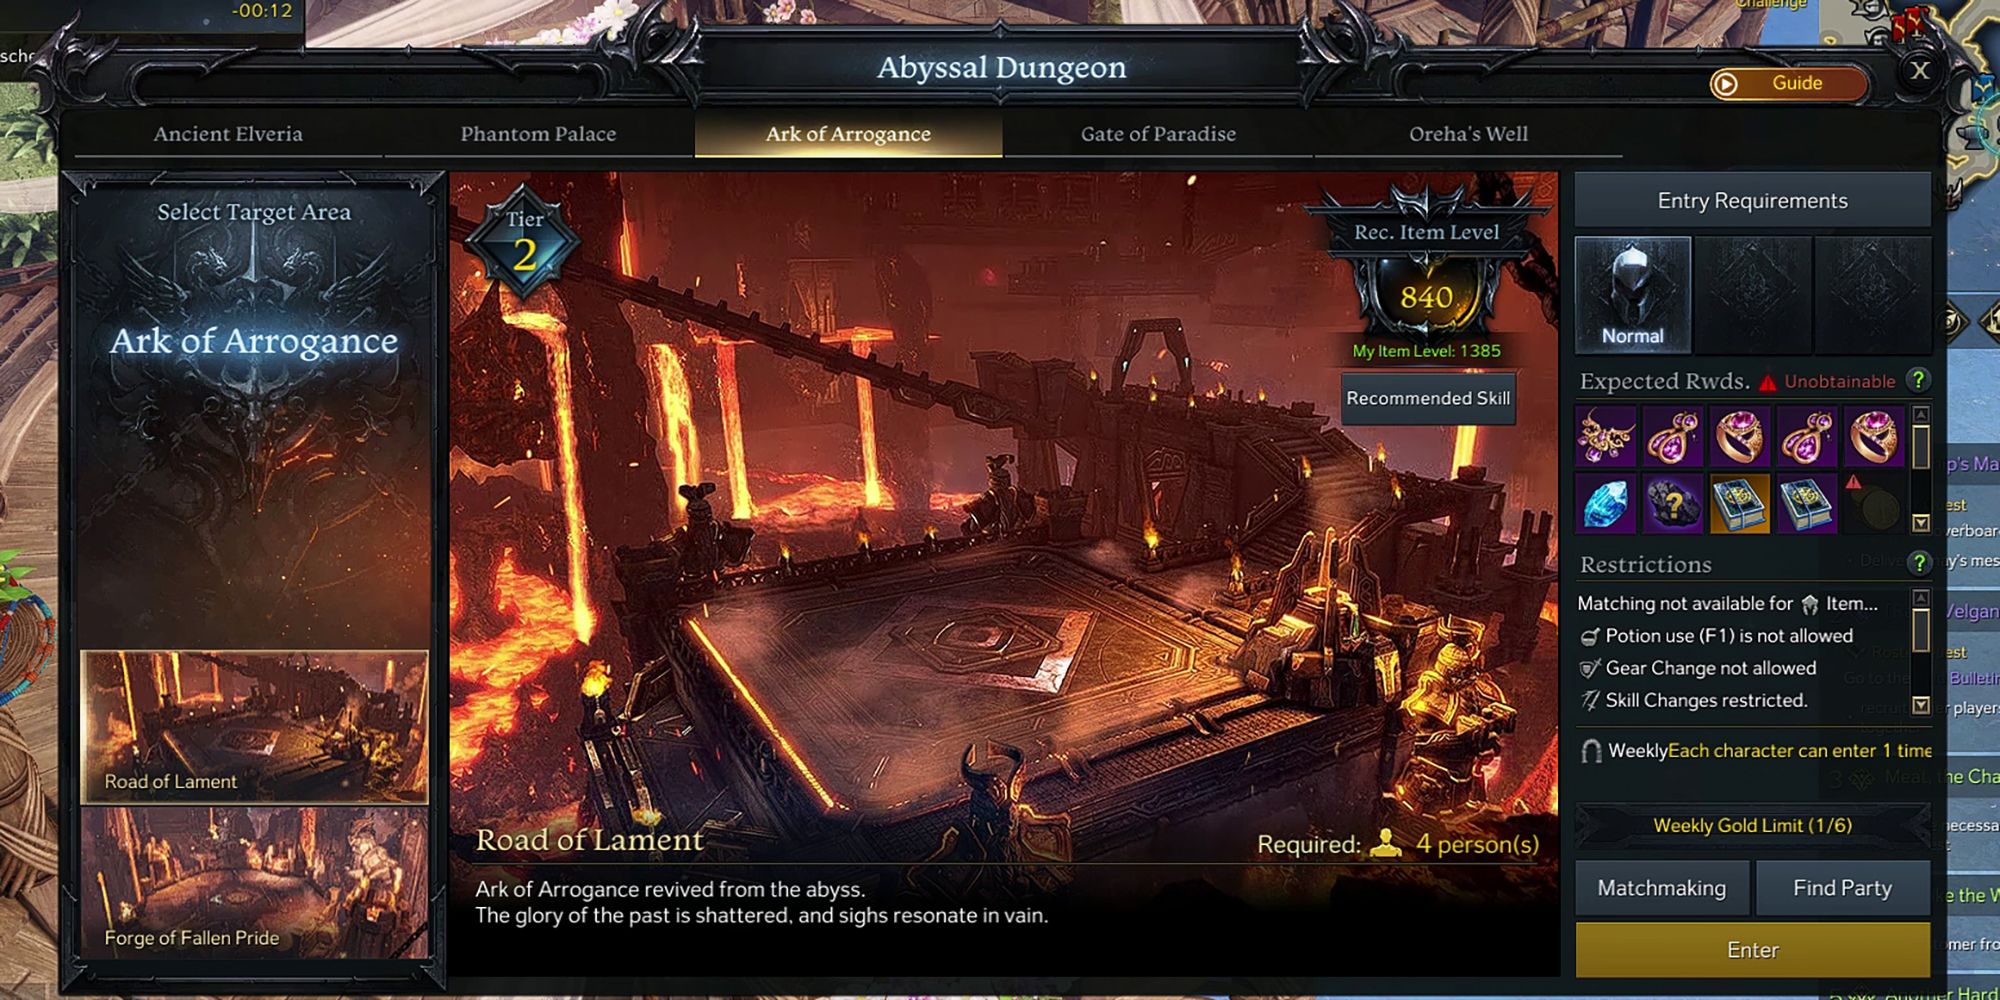
The Ark of Arrogance is the outset Tier ii batch of Deep-sea Dungeons players will be encountering in Lost Ark, though information technology might non feel that way since this Abyssal is arguably easier than the Tier 1 Phantom Palace was. In any case, this is the Abyssal Dungeon that is a modified version of the Yorn Main Story Quest Dungeons, as the majority of the Abyssal Dungeons in this game is essentially simply Main Story Quest Dungeons ramped up to 11.
In this first Dungeon, the Route of Complaining, Lost Ark players Item Level 840 and up will be facing off confronting the Demon Najjar also as Kyzra and her deceptively annoying Wipe mechanic (which only becomes more mutual as the Raids continue). So, without whatsoever further distractions, let's become into information technology.
Short & Sweet Refresher Guide
The majority of players that have made it to Tier ii in Lost Ark are probable but looking upwardly this guide in social club to get a quick refresher course on the virtually important of mechanics. Thankfully, this offset section fills that exact purpose, equally well every bit it'll help out players who know they don't have the patience to read a long guide or watch a 10+ minute video.
- Route of Lament has the standard four sections, a mob-clearing section, Najjar, a secondary mob-clearing section, and and so Kyzra.
- The showtime dominate, Najjar, is incredibly simple in its Spinning Lasers mechanic. If it starts and the prophylactic zone is in the middle, it's the Inner-Variant blueprint, if information technology starts and the only danger zone is a small circle around Najjar, it'due south the Outer-Variant pattern. Don't worry about DPS during this stage and merely focus on survival. If it's the Outer-Variant blueprint, remember to hang effectually the corner of the arena until the Magnetic Field around each thespian locks to the ground, and then start running around the beams.
- Before going into the Kyzra fight, ready cardinal directions ahead of time. The most standard strategy is just using the default Political party Order to assign directions, AKA, 1234 = Northward, South, East, and West.
- When Kyzra jumps to the heart of the arena, it's time to go far the assigned direction. Grab three Gilt Orbs and avoid all the Ruby Orbs, and then use the Gold Aura given to destroy the Big Red Orbs Kyzra summons.
- Remember, if two or more Orbs make it to Kyzra, it's a team wipe. Additionally, for every Red Orb picked up, that thespian has to pick up 1 actress Gold Orb, and then proceed that in heed.
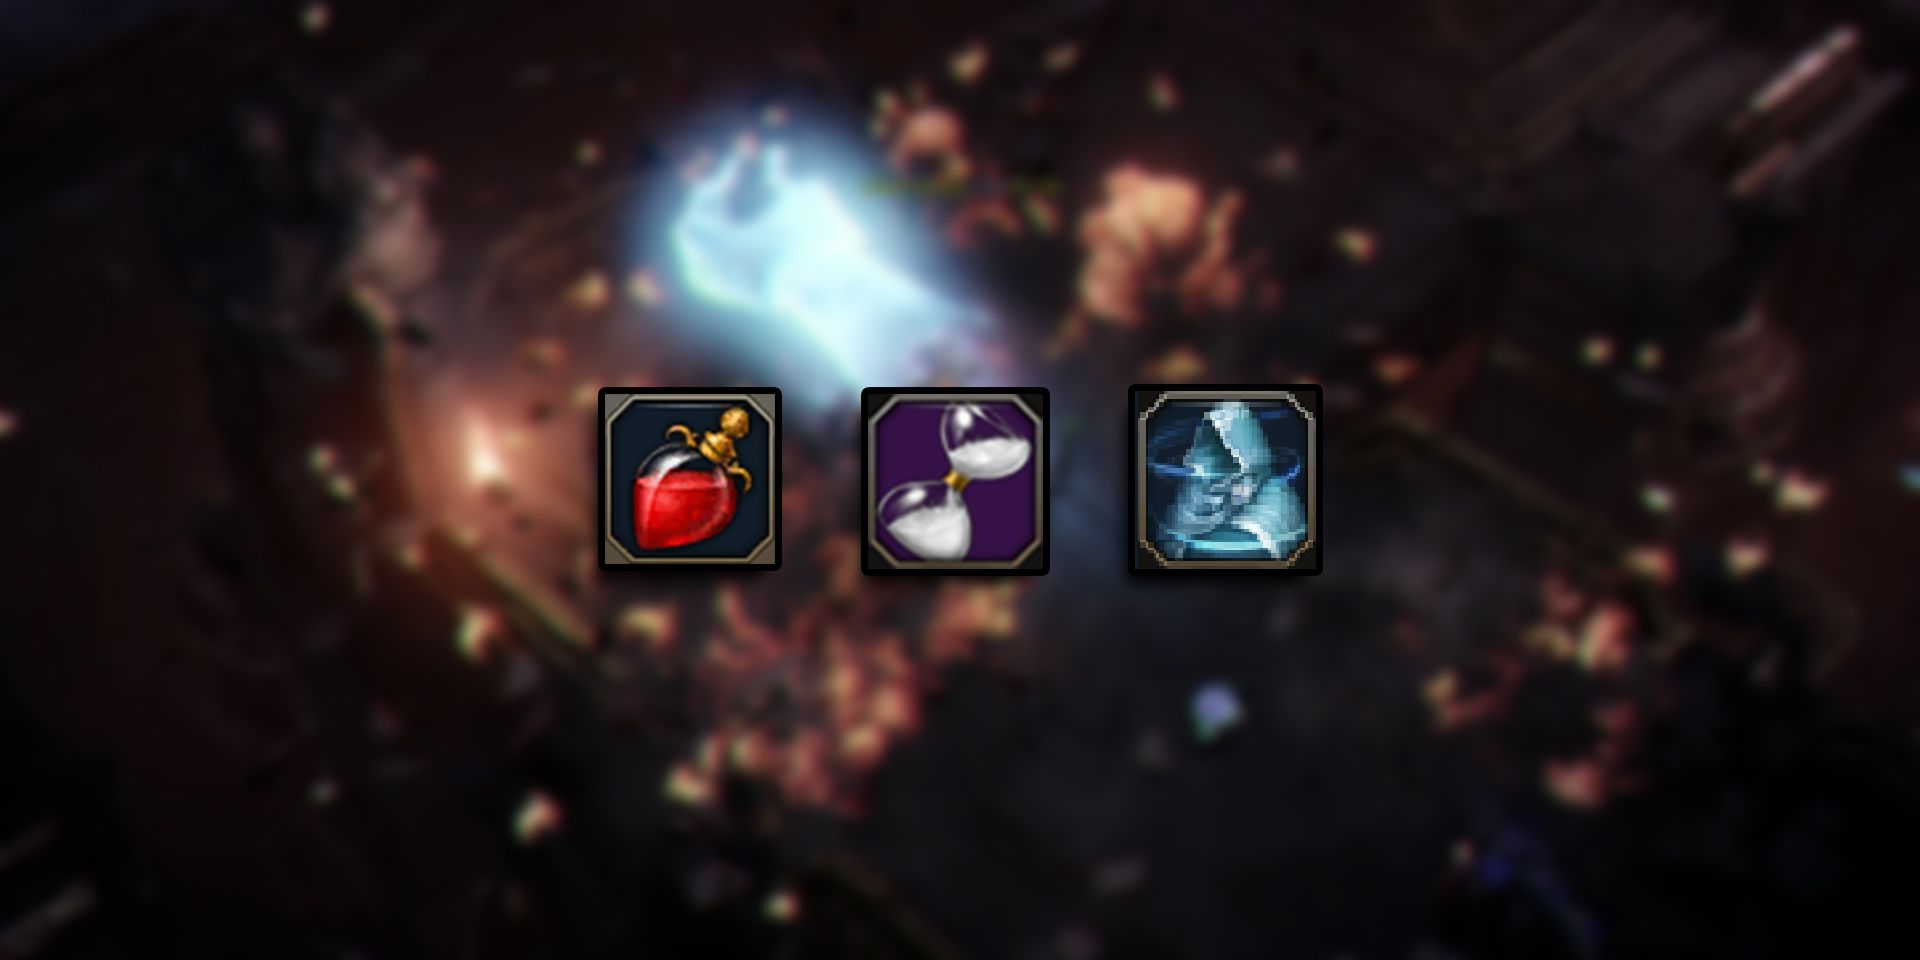
- The about worthwhile Consumables to bring are Protective Potions for Najjar'southward lasers, Time Stop Potions (also for the lasers), or peradventure even Swift Robes every bit well.
Commencement Department: Defeat The Demons On The Road Of Lament

The starting mob-clearing section of Road of Lament is in no fashion comparable to the bombastic flair of either the Hall of the Twisted Warlord or Hildebrandt's Palace, and it's a bit of a drag.
At that place's a lot to kill, a skillful amount of terrain to spring/climb, and it's broken up into 2 parts by a portal for some reason. Only, while one of the longer mob-clearing Abyssal Dungeon sections, it's basic and then at to the lowest degree at that place's that.
Second Department: Bewitched Najjar
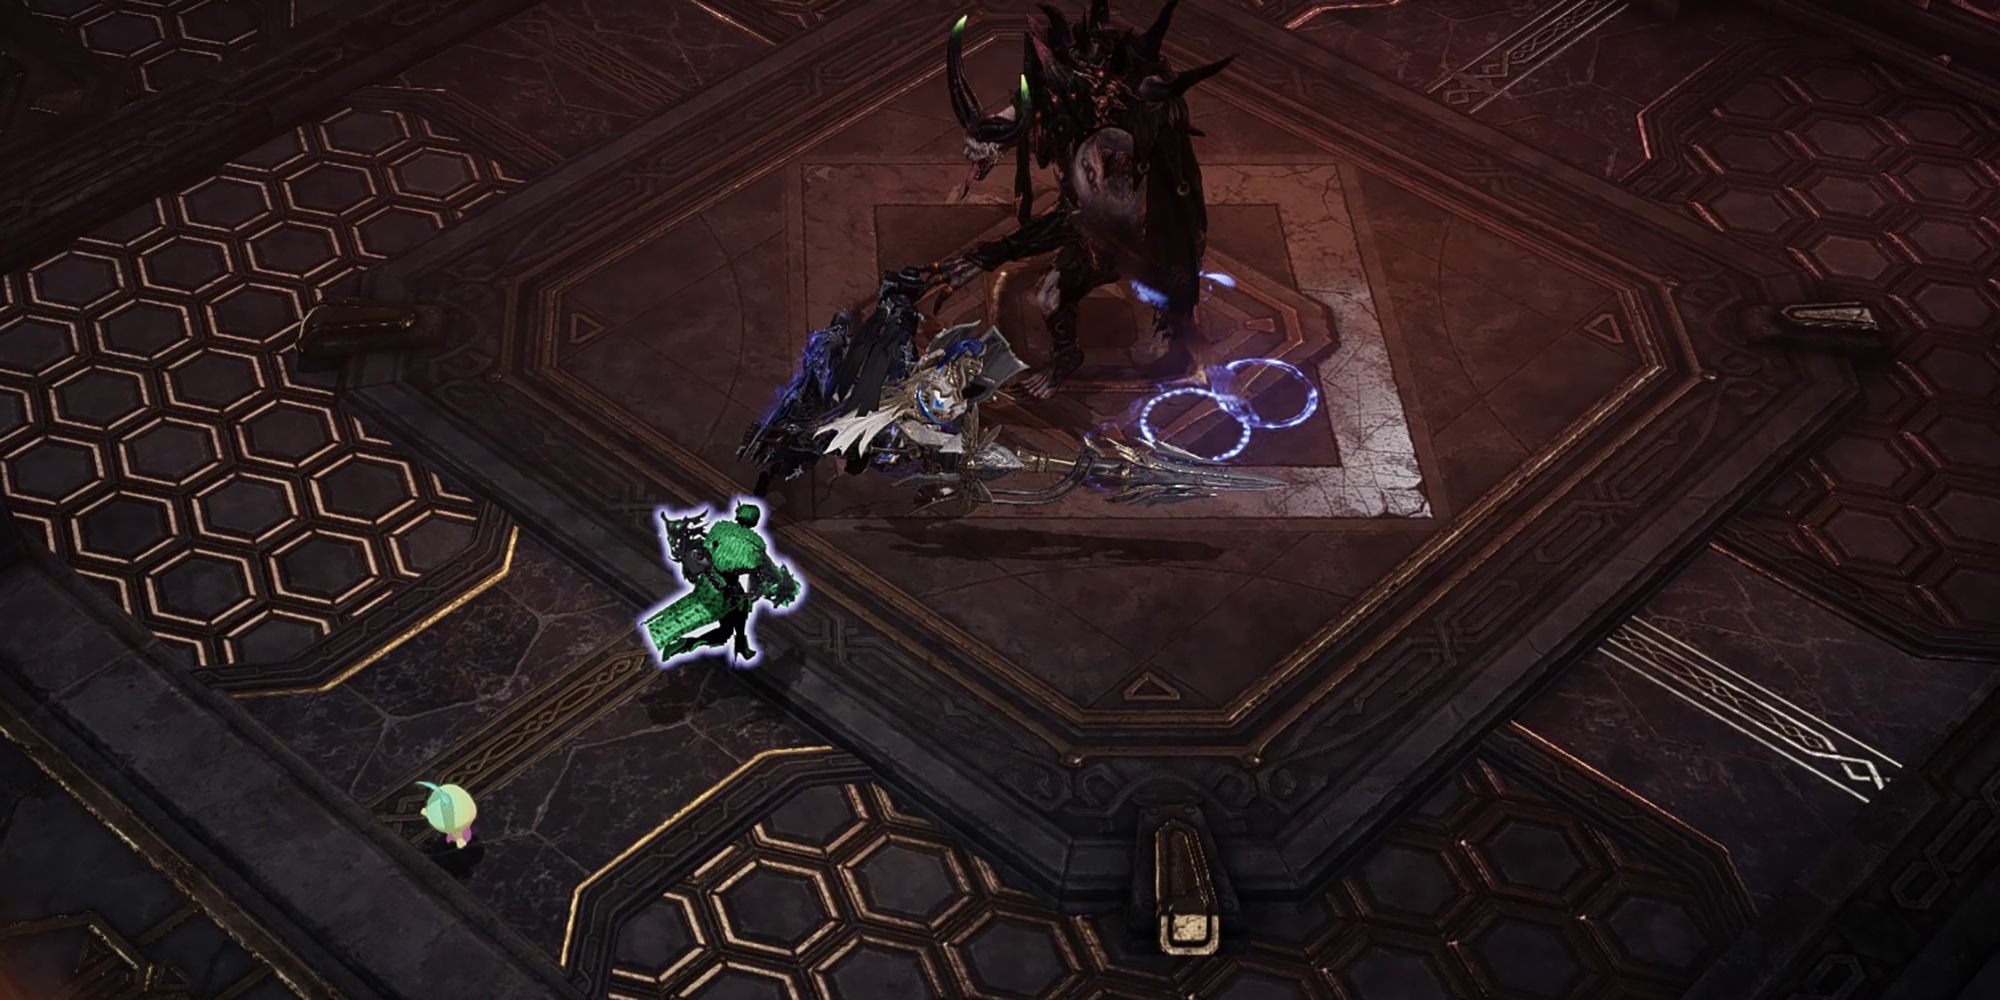
The start Boss of the Road of Lament is a unique one, as information technology'due south a Demon who'southward been enchanted by Kyzra's sword co-ordinate to the "lore". In whatever case, Najjar is a tad annoying to fight, with a fair amount of knock-up attacks and movement abilities. That said, he'southward not very tanky and in that location'southward no penalty for chasing him, then it's like shooting fish in a barrel to burst him downward to his Spinning Laser mechanic in under a minute.
Important Mechanic: Spinning Lasers
At around 8 and 4 HP Bars remaining, Najjar runs to the heart and starts his Spinning Lasers mechanic. While this isn't considered a "Wipe" mechanic, it can easily Wipe a squad who don't react to it properly and is likewise focused on Combat and DPS. At this indicate, Najjar will either driblet a modest red telegraph circle around him or create an arena-wide telegraph with the but safe zone being in a pocket-size circle around him. If it'south the starting time option, it's the Outer-Variant of this mechanic, if information technology'due south the second option, it's in the Inner-Variant.
| Name | Description | Strategy |
| Inner-Variant Spinning Lasers | Najjar turns the entire loonshit into a blood fog, with the only prophylactic zone being a minor circumvolve around him. He so sticks out his hands and starts diggings beams of blood out of them before slowing spinning either clockwise or counterclockwise. During this spin, Najjar can sometimes end mid-rotation and and so start spinning in the opposite direction | Stick equally close to Najjar'south body as possible and follow the further-forth hand in the rotation as he spins. Careful with each click in case he all of a sudden stops and changes directions. Also, make sure to have friendly particle furnishings turned off, every bit whatever lingering particles during this stage arrive very difficult to dodge the lasers. |
| Outer-Variant Spinning Lasers | Najjar turns a minor circumvolve around him into a claret fog, making it impossible to go close to him. Then, he'll mark each player with a crosshair in a higher place their head before dropping a Magnetic Field on superlative of them not long afterward. Then, like the Inner-Variant, Najjar starts to spin while firing blood lasers out of both outstretched hands. | Immediately run to carve up corners of the arena until the crosshairs announced over everyone's heads. Wait until the Magnetic Fields driblet so that they'll exist out of the mode in the corner, then quickly run back as shut to Najjars Blood Fog equally possible earlier following his lasers. The Outer-Variant Lasers are a bit faster and harder to outrun, then worst-case scenario pop a Fourth dimension Cease or Protective Potion if it's nigh to hit. |
Regular Attacks
Outside of the Spinning Lasers, Najjar's attacks are more irritating than they are unsafe, but it's even so nice to know them ahead of fourth dimension:
| Name | Description |
| Claret Fog | Najjar summons little clouds of Claret Fog at random spots in the arena. These bits of Fog last a decent amount of fourth dimension and deal constant amounts of low damage to anyone continuing inside. |
| Magnetic Fields | The Boss summons five Magnetic Fields effectually him in a star-like formation that, merely like the ones in the Spinning Lasers stage, stun and push back any players who make contact with them. |
| Orbs of Blood | Najjar summons a number of floating Blood Orbs nearby that all aim towards one player at random with a blood-red telegraph that slowly fills before it sends out a wave of Claret that knocks upwardly anyone hit. |
| Spinning Bract | The Boss jumps up into the air, sends a blade rift forward with his sword before slamming it back downwards as 2 additional blade rifts wing forward in a straight line before long afterward. |
| Spin Dash | Najjar picks a player and dashes towards them while spinning in a circumvolve. In his wake, he leaves several Blood Orbs in a straight line that sends out Blood Waves in opposite directions after a short filibuster. |
| Shotgun Spread Blood Moving ridge | The Boss drops a large conical cerise telegraph that slowly fills. Once filled, Najjar sends out four waves of Blood Free energy in a Shotgun Spread-similar pattern that covers the entire cone telegraph. |
| Orb That Spawns More Orbs | Najjar Summons a big Blood Orb that slowly flies in a random direction while also spawning smaller Blood Orbs that too fly in random directions. |
Tertiary Section: Defeating Demons In The Forge

Just like the offset section, this is some other mob-immigration phase of the Abyssal Dungeon. Thankfully, it's a bit shorter than the first phase, just still pretty wearisome every bit many of the enemies have a "waking up" animation that makes information technology incommunicable to articulate them all out in i large move.
Still, continue breaking these Demon...statues and move onto the gate that takes the party into the Kyzra encounter.
Quaternary & Last Section: Kyzra
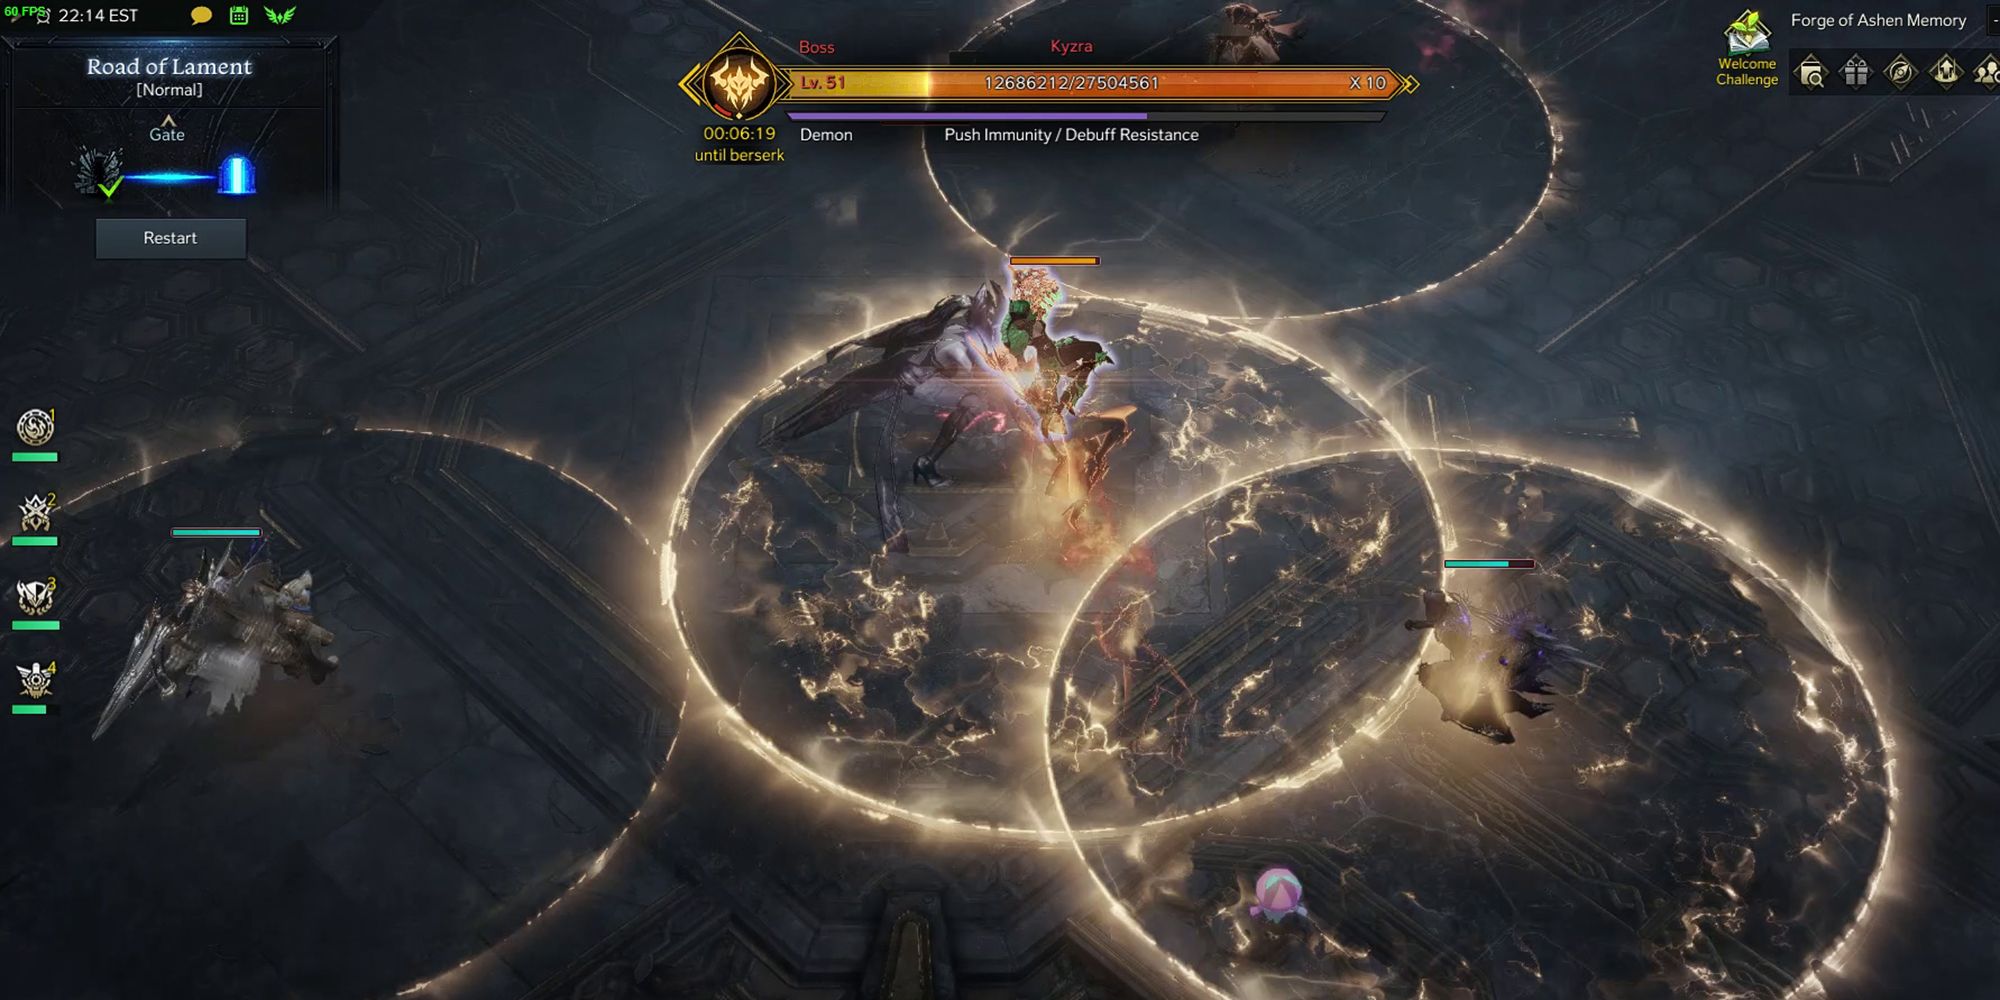
Upwardly adjacent is the last encounter for the Road of Lament, the Demon Commander Kyzra (meliorate known as Kaylara in the other versions of the game). Kyrzra, like Najjar, is a relatively mobile Boss, with some abrasive stuns and condition effects. Honestly, it's Bosses like these two that are making some players apprehensive about the upcoming Destroyer class since it has to total-commit to every sweet. In whatever instance, Kyzra likewise has a Teleport and Cocky-Buffing mechanic that can make the fight more annoying besides equally a Stagger Bank check, but neither of them isn't quite as important to know almost as her Wipe mechanic, Orb Assimilation.
Important Mechanic: Orb Absorption
This is Kyzra'south main mechanic, and the only one returning players need to remember earlier queuing upwards for the Ark of Airs. In general, players should get used to collecting Orbs, equally it seems to be a core mechanic of all endgame content, including Argos. It doesn't seem to occur at specific HP requirements, just will always happen at least in one case during the fight, usually in one case she's less than half wellness. When it starts, Kyzra hops to the middle of the arena and creates a red shockwave around her that constantly deal insane amounts of harm to anyone that gets too close. Then, Kyzra starts spawning a bullet hell of ruby-red and gilded orbs in all directions. To keep to the adjacent part of this phase with whatsoever promise of clearing it, the party should try and collect 3 of the Gilded Orbs while avoiding the Red Orbs. Subsequently doing this, they should gain a golden circular aura effectually them.
Later nigh thirty seconds, Kyzra starts to summon these Big Ruby Orbs all around the arena that slowly outset moving towards her red shockwave. The goal hither is to destroy all the Big Cherry Orbs using the Gilded Aura before they reach Kyzra herself. Keeping the Big Red Orbs within this Golden Aura deals a big chunk of damage to them every half second, commonly breaking any orbs within ii triggers of this impairment. If even two Big Red Orbs get in to Kyzra, she slams her sword down and wipes the entire party. If players do this mechanic correctly, Kyzra is staggered and falls onto the ground.
The cardinal hither is advice, and here's what well-nigh parties tend to do:
- Earlier entering the Kyzra loonshit, players should assign each of them either Due north, Due east, S, or W. Virtually parties follow the randomly assigned Political party Order AKA 1234 = NESW or some pocket-sized variation of this.
- Once the Orb Absorption begins, players move to their assigned part of the loonshit.
- Each actor collects three Gilt Orbs exclusively in their section of the arena and and then works on clearing their department of all Big Red Orbs.
- Any player that doesn't manage to become the Aura in time then spams a few pings, and the 2 players on either side of them will try and comprehend their section as well.
And it'south every bit like shooting fish in a barrel as that! But, while this sounds unproblematic because the threshold is so low for Orbs that make information technology to Kyzra, it can be harder than it looks. And so, go along these factors in listen:
- For every Red Orb touched, that player must collect one more Gold Orb (for example, a thespian who touched 1 Gold then 1 Reddish needs 3 more Gold for the Aura).
- If players enter each other's Gilded Aureola, they're knocked back and staggered, so don't overlap.
- The Aureate Orbs move slower than the Red ones, then it'south easier to wait when collecting the Gold Ones rather than rushing.
Important Mechanic: Standard Stagger Check
Kyzra also has a Stagger Check that comes up from time to time. It doesn't always go used and doesn't lead to a squad Wipe, but if information technology's failed Kyzra sends out an arena-broad Shockwave that does high impairment and knock-up. While her Stagger Bar is active, Kyzra volition be sending out a multifariousness of cone-shaped Shockwaves in random directions with her Sword, but they're pretty easy to avoid.
Important Mechanic: Teleport Stab & Cocky-Vitrify
From the start of the fight, Kyzra has a chance to teleport directly after any of her moves. When she does and so she summons a variety of circular ruby-red telegraphs that summon lightning when filled. Ane of these circles is slightly larger than the other, and this ane actually has Kyzra herself come down and stab a player she lands on. If successful, Kyzra gets a shield effectually her that deals constant damage to anyone inside. And, from that betoken on, she gets a general damage buff as well.
Regular Attacks
Shockingly, exterior of her chief mechanics, Kyzra really doesn't take many other attacks. For how quick and jumpy this boss is, one would assume she has a lot of attacks, but it doesn't seem to be the example:
| Attack Name | Clarification |
|---|---|
| Sword Laster | Kyzra points her bract at a random marry before a line comes out of it, directly afterwards, she fires a laser forth the same path. Deals decent damage and knock-up on-hit. |
| Spin & Slam Attack | The Boss does a quick spin assault that pushes back all allies hit and then does an immediate slam attack with her sword that summons spikes in a circumvolve correct at the edge of where her spin attack was. If a histrion is hit and pushed by the spin attack, they're pushed into the perfect spot for the spike role of this attack. This is also the set on where Kyzra tin glow blue and exist Countered mid-jump for the slam. |
| Fireball Summon | Kyzra swings her sword horizontally and summons 5 fireballs where her sword arc just was. These fireballs then movement slowly towards Kyzra, dealing moderate damage and stagger on-hitting. Careful, if a role player is too close to Kyzra during this set on, multiple fireballs can pass through them at once, dealing a sizeable chunk of damage. |
| Boomerang Throw | The Boss throws her blade forward, putting a spin on information technology. The sword then spins in a semi-circle arc in front of her before returning like a boomerang. A bones set on that deals moderate damage and stagger also. |
Recommended Consumables & Engravings
If players are having trouble with Road of Lament, this is one of the first Abyssal Dungeons where there are a decent amount of Consumables to make up for what they're lacking. For instance:
- HP Potions are a given (or so one would think)
- Fourth dimension Terminate Potions, Swift Robes & Protective Potions are fantastic for Najjar's Beams for wearisome Classes that can't outrun them consistently.
- Swift Robes are also helpful for Kyzra'southward Orb Absorption, as the extra movement speed can arrive easier to collect Gold Orbs and destroy Big Red Orbs.
- And of course, players can use engravings similar Grudge (delight don't spend money to get this Engraving maxed) to deal enough damage to skip some of these mechanics or Spirit Absorption to increase their Cooldowns and Motility Speed. A well-Faceted Ability Stone makes a world of divergence in these situations.
Lost Ark is currently available on PC.

Lost Ark Abyssal Dungeon Limit,
Source: https://gamerant.com/lost-ark-road-of-lament-abyssal-dungeon-raid-guide/
Posted by: hogannome1986.blogspot.com
0 Response to "Lost Ark Abyssal Dungeon Limit"
Post a Comment